Planters
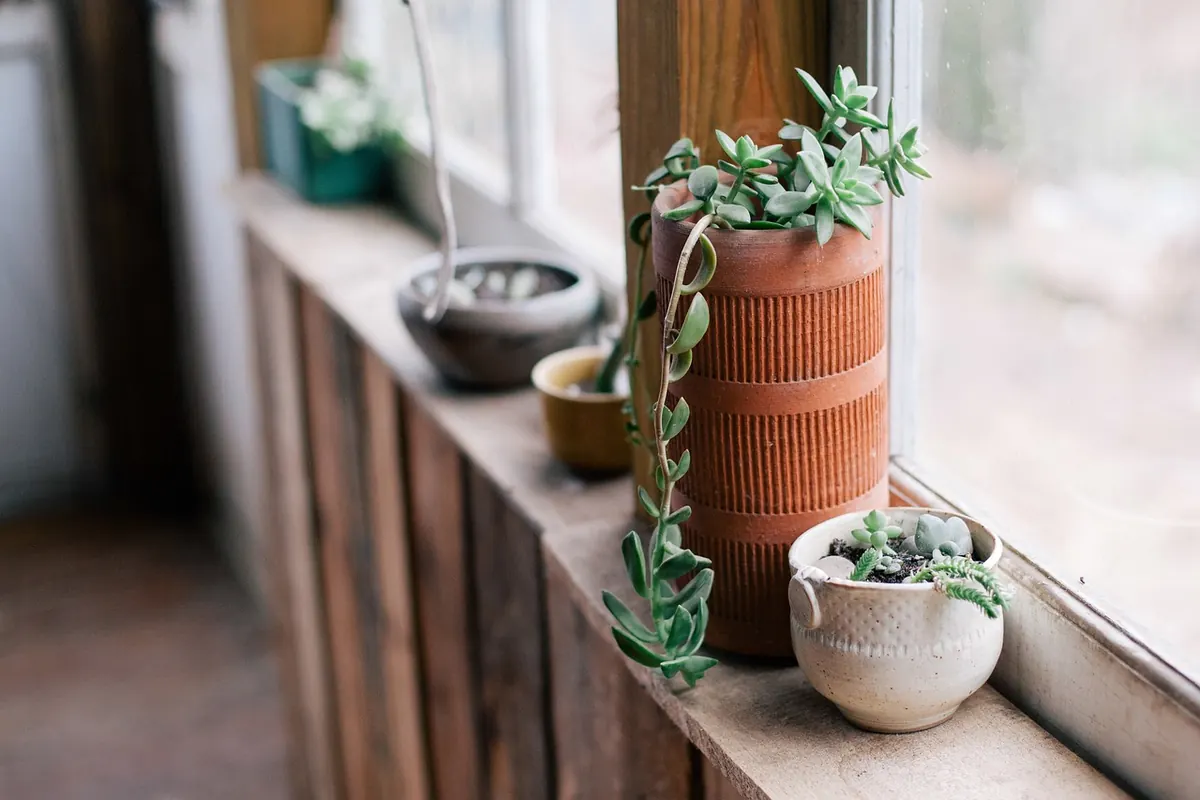
Windowsill Herb Planter Checklist: What to Buy Before You Plant
Growing herbs on a windowsill is one of the cheapest, quickest ways to get something edible out of a small space. It also fails more often than it should, and rarely because of the herbs themselves. Most disappointing windowsill planters come down to a missing saucer, a bag of the wrong compost, or a pot parked on a sill that only sees an hour of weak sun in December. Get the shopping and setup right before you sow anything and the growing part becomes almost boring. Here is the checklist to work through first.
Start With the Space, Not the Seeds
Before you buy a single pot, spend five minutes at the window you have in mind. You are checking three things: how much direct sun it gets, how wide the sill is, and whether it sits above a radiator or a draughty gap.
Most culinary herbs want four to six hours of direct light a day. South-facing sills are the gold standard, east and west are workable, and a north-facing window will struggle with basil, rosemary and thyme unless you add a small grow light. That is not a reason to give up — it is a reason to choose mint, chives or parsley instead, or to budget for a lamp.
Measure the sill. A deep sill takes a proper trough planter; a narrow one only takes a row of small pots, which dries out faster and needs more of your attention. If your chosen window has a radiator directly below it, either pick a different window or accept that you will be watering far more often, since warm dry air pulls moisture out of compost quickly.
Quick light test
- Sunny most of the day: basil, rosemary, thyme, oregano, sage
- A few hours of sun, bright otherwise: parsley, chives, coriander, dill
- Bright but rarely direct: mint and chives will cope; everything else will stretch and sulk
The Shopping Checklist
Work down this list and you will have everything needed for a first planter that lasts more than a fortnight. Nothing here is specialist, and most of it is available from a garden centre, a hardware shop or a supermarket in early spring.
- A planter or individual pots. A trough or window box gives you room for three or four herbs together. Alternatively, four 12–15cm pots give you flexibility, because you can move a struggling plant to a better spot. Whatever you choose, each herb needs drainage holes. No holes, no planting — drill them or buy something else.
- A drip tray or tray liner. Essential on a windowsill. Water runs straight through a well-drained pot, and painted sills, wooden frames and rented walls all stain. A shallow tray that fits the planter's footprint is enough. Empty it after watering rather than letting pots stand in water.
- Saucers for individual pots. If you go the pot route, one saucer per pot. Terracotta saucers are cheap and stable; plastic ones are lighter and less likely to crack.
- Compost. A peat-free multipurpose compost is fine for most herbs. If you are only growing Mediterranean herbs — rosemary, thyme, oregano, sage — mix in grit or use a loam-based compost with extra drainage, because these plants hate sitting wet.
- Grit or perlite. A small bag for mixing through the compost. Two parts compost to one part grit is a reasonable starting ratio for the woody, dry-loving herbs.
- A small watering can or a jug with a fine spout. A full-size can is unwieldy on a sill and floods small seedlings. A 500ml can or a clean jug with a narrow spout gives you control.
- A spray bottle. Useful for seedlings and for misting basil, which appreciates a little humidity in a centrally heated room.
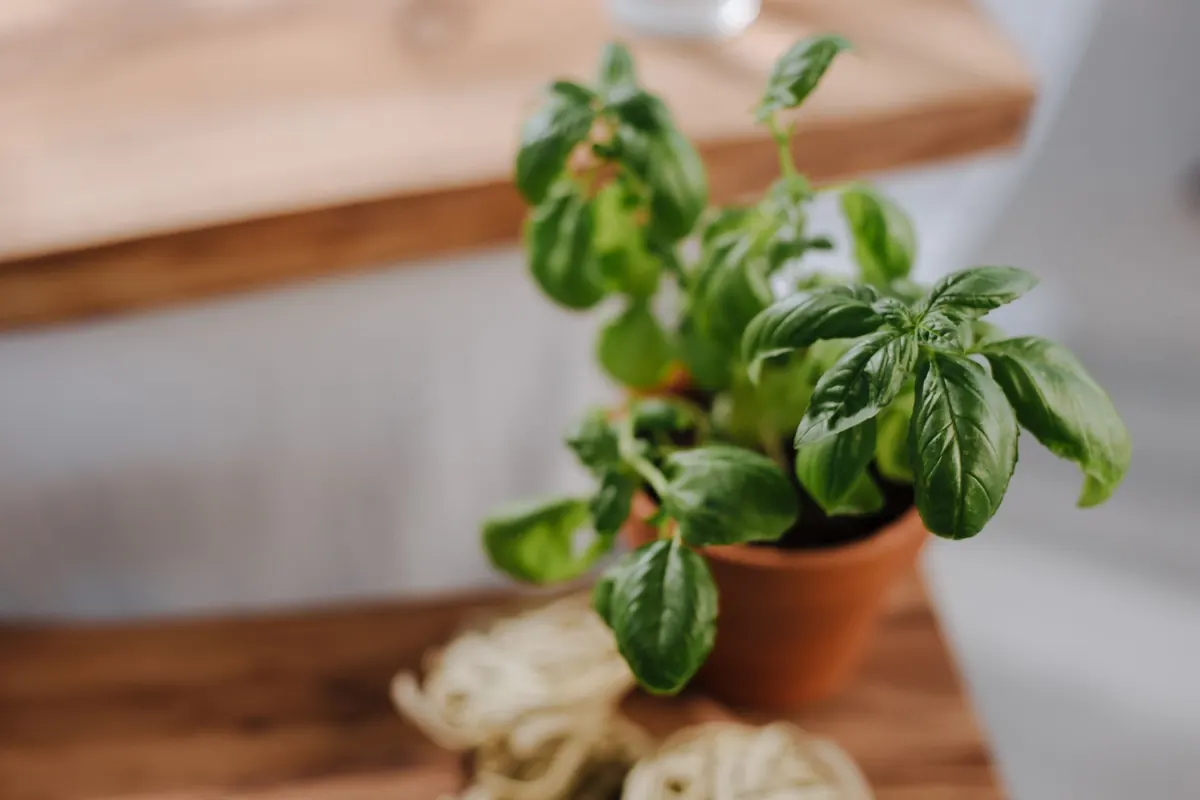
- Seeds, or small plants. Buying a pot of growing basil or mint from the supermarket and splitting it into fresh compost is faster than sowing. Seeds are cheaper and give more variety. Note that supermarket herb pots are usually grown densely and in poor compost, so repot them within a few days.
- Labels and a pencil. Sounds fussy. It is not. Once six small pots of compost look identical, you will wish you had.
- Scissors or snips. You will be harvesting from week three onwards, and pinching out tips keeps plants bushy.
Optional but genuinely useful
- Clear plastic propagator lid or a cut-down bottle for keeping seeds humid
- Small grow light with a timer, if your window is dim or you are planting in winter
- Liquid feed for herbs you keep going past mid-summer
- A shallow dish of pebbles and water to raise humidity around basil without soaking the compost
Setting Up the Planter
Do this on a surface you can wipe down, not on the carpet.
Place a layer of grit in the base of the trough if it has deep drainage holes, then fill with compost to about 3cm below the rim. Leave that gap: it gives you somewhere to pour water without it running straight over the edge.
Settle the compost by tapping the pot rather than pressing it down hard. Firming it with your palm compresses the air out and makes a dense layer that roots struggle to push through. Water it lightly before planting so the compost is damp but not sodden. Then make a hole, tease out the roots of your herb plant, and set it in so the top of the root ball sits level with the surface.
Spacing matters more than it looks. Three herbs in a 60cm trough is comfortable. Six is a squeeze that leads to mould, mildew and one plant smothering the rest. If you are sowing seed, scatter thinly and thin the seedlings once they are up, keeping the strongest.
Finally, decide your rotation. A planter with a fixed home is easy to forget. Turn it a quarter-turn every few days so stems grow straight rather than leaning towards the glass, and check the compost with a finger before watering. Damp at the top, water. Dry at the top, water thoroughly and stop when it starts to run into the tray.
Positioning and the First Two Weeks
The first fortnight is when most problems appear, so keep a closer eye on things than usual.
At the halfway mark, check for pale, stretched stems — that is a light shortage, and moving the planter closer to the glass or adding a lamp will help. Yellow lower leaves usually mean overwatering. Brown, crisp edges generally mean the compost dried out completely at some point, or the plant is sitting in a hot draught from a radiator.
Rotate the planter every couple of days. Keep leaves off cold glass in winter, since foliage pressed against a freezing pane can scorch. If you can, crack a window for ventilation rather than leaving a sill sealed and humid, as airless conditions invite damping off in seedlings and mildew on mature plants.
Before You Start, Check These Six Boxes
Light conditions at the window assessed and matched to herbs you actually want to eat. Sill measured, with a planter that fits. Drainage holes confirmed. Tray or saucers bought. Multipurpose compost plus grit for anything woody and Mediterranean. A small watering can and a spray bottle ready before the seeds go in.
Tick all six and your first indoor herb planter has a fair chance of still going in three months. The plants are the easy part. The tray, the compost and the light are what make the difference.
Photo: StockSnap / Pixabay